Build presets
A preset is a named look for your avatar. It can hold clothing and accessories, plus upload settings when you use separate-avatar mode. Existing scene outfit folders and presets appear in the same Presets workspace.
Common items and named looks
| Destination | Example | Behavior |
|---|---|---|
| Common Preset | Hair or glasses shared by every look | Shared with named presets; no independent upload or batch inclusion setting. |
| A named preset | A jacket, trousers, and shoes for “Everyday” | Belongs to that look and can have its own upload settings. |
| Another named preset | A dress and accessories for “Evening” | A separate look, with its own items and menu groups. |
These names are examples. The screenshot below shows the initial state of the captured avatar, which had no named presets or installed items.
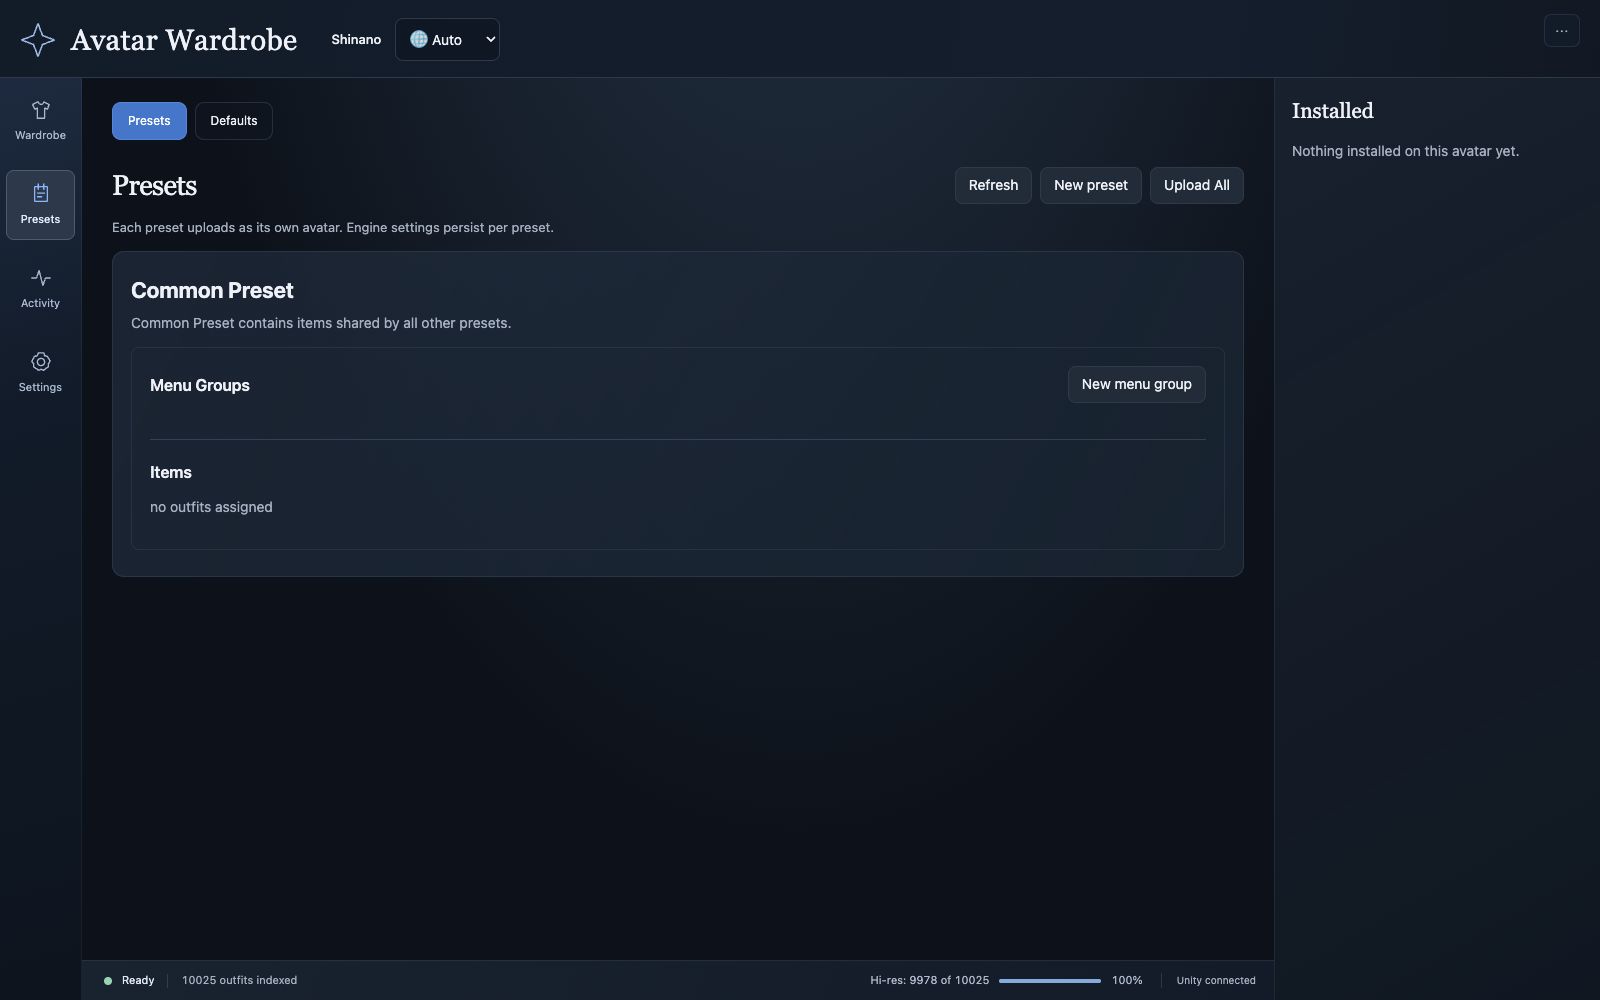
Common Preset is always present. Use New preset to add a named look.
Create a preset and fill it
- Open Presets and click New preset. Enter a recognizable name.
- Return to Wardrobe, open an item, and choose the new name in Preset.
- Choose the variant and click Add to preset.
- Repeat for the rest of the look. Put shared items in Common Preset instead.
- Return to Presets and use Refresh if needed. Check the Items list and use Show in Unity on a named preset to locate it.
- Save the Unity scene.
You can also create a preset from the + beside the inspector's preset dropdown.
Reuse scene outfit folders
Opening Presets discovers direct children of the avatar's configured outfits folder, normally Outfits, and registers them as presets. This includes plain scene folders and inactive contents. You do not need to recreate them in a separate scene-preset system.
Discovered presets retain their existing scene folders and initial engine settings. Later refreshes do not replace edits you made to preset configuration.
Choose one avatar or separate avatars
Open Settings → Upload each preset as a separate avatar.
| Setting | Result |
|---|---|
| Off | Keep the looks in one avatar. Avatar Wardrobe generates a Presets selection menu for switching between them. Detailed preset upload controls are hidden. |
| On | Each named preset can upload as its own avatar. Platform, Avatar ID, blendshape, and batch controls become available. |
Switching this setting keeps your preset records and saved upload configuration. It does not move the outfit objects between folders. Explicit Add actions can place items in the chosen preset.
Rename or remove a preset
Rename updates the scene preset folder and generated menu labels while retaining its Avatar ID and engine settings.
Remove deletes that preset's scene folder and items after confirmation. It does not delete source prefab assets or previously uploaded VRChat avatars. Unity Undo covers scene removals. Common Preset cannot be removed.
For choices within a look, continue to Menu Groups. For separate avatars, continue to uploading.